

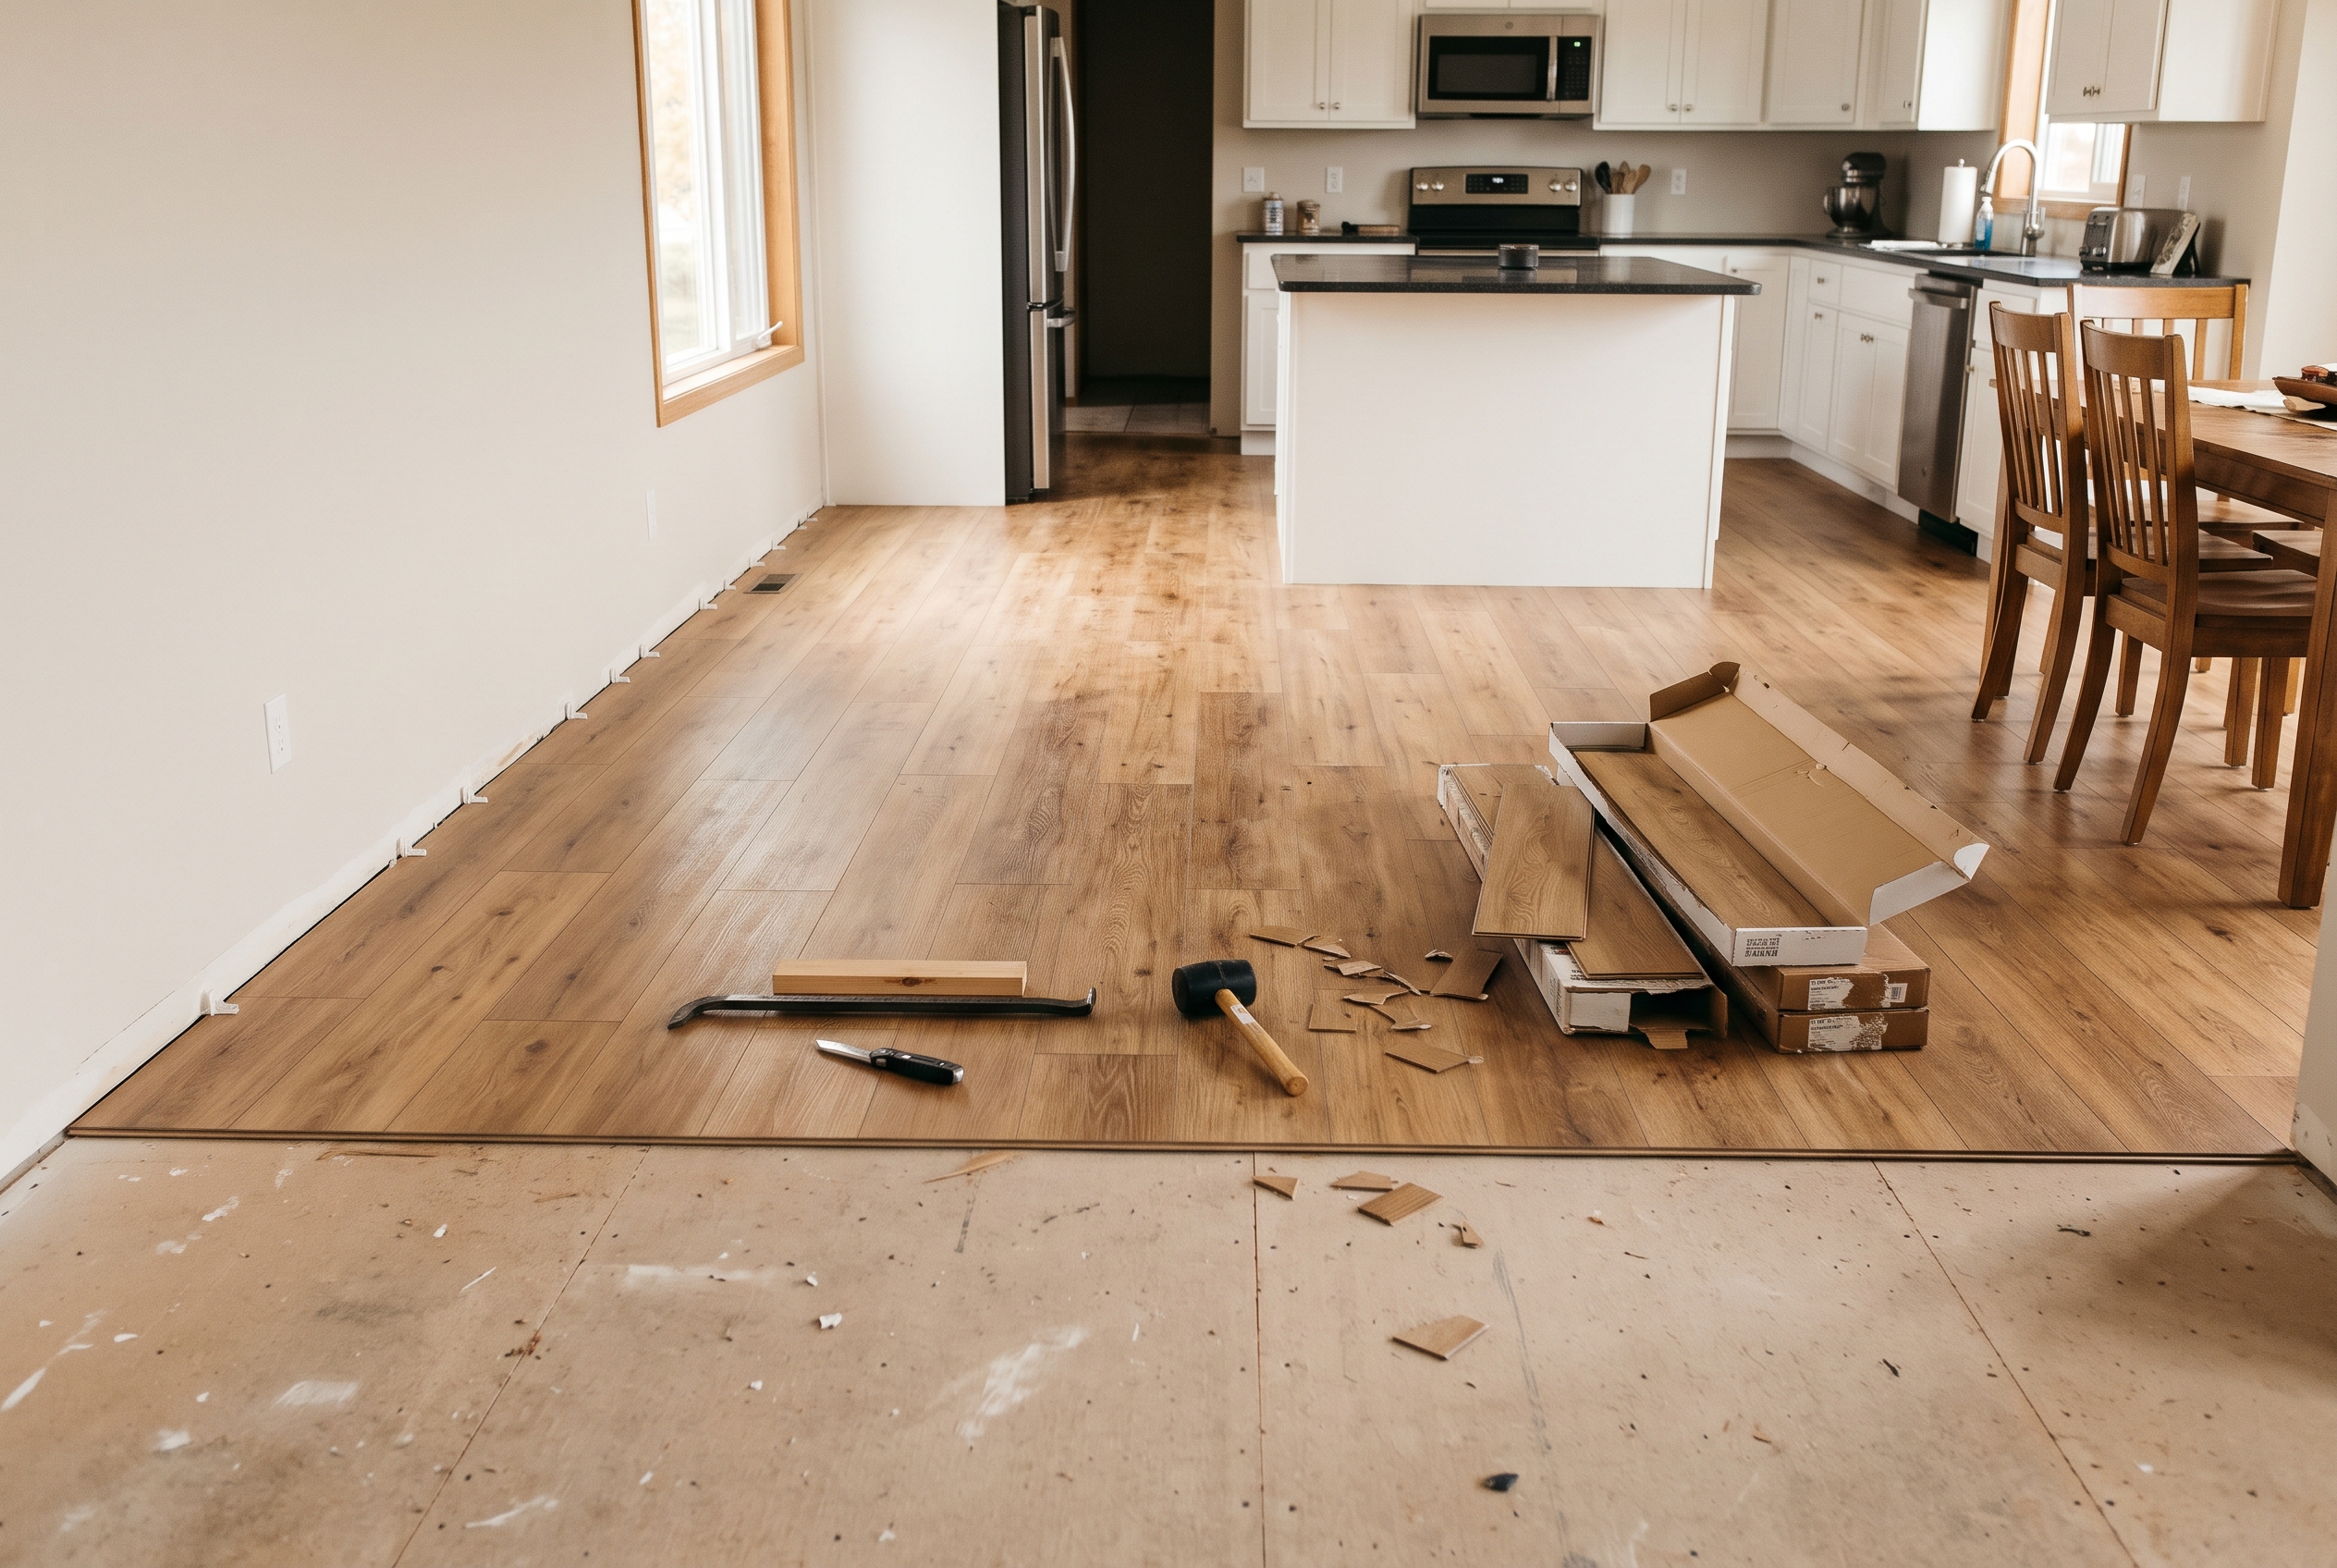
Luxury vinyl plank (LVP) costs about $5 to $20 a square foot installed, plank and labor together. That national range comes from This Old House's cost guide, which draws on Angi's project data, and it puts 1,000 square feet across a main floor at $5,000 to $20,000. In South Bend, your job's place in that range depends mostly on what sits under the old floor and how many rooms the planks run through. Once the rooms are empty, most houses are a one- or two-day install.
| Area | National installed range |
|---|---|
| 100 sq ft (a bathroom or laundry) | $500 to $2,000 |
| 200 sq ft (a kitchen) | $1,000 to $4,000 |
| 500 sq ft (kitchen, hall, two bedrooms) | $2,500 to $10,000 |
| 1,000 sq ft (most of a main floor) | $5,000 to $20,000 |
What LVP Installation Costs Per Square Foot
LVP installation labor runs about $3 to $10 a square foot nationally, or roughly $36 an hour. The plank itself costs $1.39 to $5.99 a square foot for click-lock and $1.20 to $7.72 for glue-down. Most finished jobs land in the middle of the installed range, around $5 to $10 a square foot. A mid-range plank over a flat, empty floor sits at the low end of that, and a premium plank in a kitchen full of cabinets and doorways sits at the high end or above it.
Labor follows the shape of the room. Every cut around a cabinet run, a closet, a heat register or an angled wall takes time, and every doorway needs a transition piece. A small bathroom often costs more per square foot than a big living room, because the setup and cutting take about as long either way. The smallest rooms in the area table run toward its high end for the same reason. Stairs are priced on their own, since each one is cut and fitted by hand.
The plank's price follows what it is built to take. The clear wear layer on top is the main thing you pay for, and the wear layer is printed on the spec sheet in mils, a mil being a thousandth of an inch. A thicker wear layer, a rigid stone-plastic core, an attached pad and a longer or wider plank each push the price up.
Use these figures to judge a quote. If a quote sits well above the middle of the range, its extra lines should show why. The price for your own rooms comes from measuring them, and if you would rather not pay it all at once, you can spread the cost through financing with Wells Fargo.
The Line Items in an LVP Installation Quote
A fair LVP installation quote lists the plank, the labor and each extra on its own line, so you can compare two quotes line by line instead of by the bottom number. The extras are where quotes for the same rooms drift apart, and national cost guides publish ranges for most of them.
| Quote line | National range | What sets it |
|---|---|---|
| Plank | $1.20 to $7.72 per sq ft | Wear layer, core, thickness, pad |
| Labor | $3 to $10 per sq ft | Room shape, method, doorways |
| Old floor out and hauled away | $1 to $2 per sq ft | Carpet and floating floors |
| Very old glued floor out | $5 to $10 per sq ft | Glued sheet vinyl, tile |
| Patching subfloor low spots | $300 to $700 for a few spots | Dips at old walls, squeaks |
| Self-leveler on a slab | $4.50 to $7 per sq ft | How far out of flat |
| Underlayment | About $0.50 per sq ft | Only for planks without a pad |
| Transitions and quarter round | $5 to $30 per piece | Doorways, carpet edges, trim |
| Moving furniture | $40 to $100 per room | Rooms, heavy pieces |
| Stairs | Priced per step | Stair nose pieces, risers |
Most South Bend jobs carry the first three lines and one or two of the rest. Carpet is the cheapest floor to take out. Glued sheet vinyl and ceramic tile are the expensive removals, and an old floor that can stay under the new planks takes that line off the quote entirely.
When two quotes differ by more than the price of the plank, start with the square footage: both should measure the same rooms with the same allowance for waste. Then look for a transition at every doorway in both. Last, make sure neither one leaves the subfloor prep to be priced on the day of the job, because that is where a low quote turns into a high bill.
What a South Bend House Adds to the Price
If your house was built before 1960, as about three in five South Bend homes were, expect the prep lines of the quote to do real work. Older houses often have two or three layers of flooring in the kitchen and bath. Their floors may dip where a wall once stood or sag a little between joists, and few of their rooms are perfectly square. Each of those turns into patching, leveling or removal.
Newer slab ranches and the subdivisions around Granger are usually lighter on prep: one layer to remove, a flat slab or plywood, and square rooms. A finished basement sits in between. The slab may be flat, but it still needs a moisture reading, and old carpet glue or paint on the concrete has to come off before anything is glued to it.
You can size up your own house before anyone measures it. Lift a floor register cover in the kitchen and count the layers of flooring on the edge of the opening. Look at how far the kitchen floor sits above the hallway at the doorway. Then lay a long, straight board across any spot that feels soft or sounds hollow. Two or more layers, a step at the doorway or daylight under the board all point to a prep-heavy job.
How to Tell If Your Subfloor Is Ready for LVP
A subfloor is ready for LVP when it is flat, dry, clean and solid. Flat has a number: no more than 3/16 inch of variation over 10 feet, and no more than 1/32 inch in any 12 inches. A floor can slope gently and still pass, because the test is about humps and dips rather than level.
Check your subfloor with a straight 8- or 10-foot board or a long level. Lay it across the floor in several directions and look for daylight underneath. Three quarters stacked together are a little over 3/16 inch thick, so a gap that swallows them needs filling. A hump the board rocks on needs grinding or sanding down.
On a wood subfloor, walk the room and listen for squeaks and soft spots, because a loose sheet of plywood keeps moving after it is covered. A screw driven into the joist below usually quiets it, and it is far easier to do before the new floor goes down.
A flat base is what lets the planks perform. A click-lock floor floats as one sheet, so over a dip its joints flex every time someone steps there. A glue-down plank is thin and flexible, so it follows the subfloor and shows any hump through the surface. Either way, the fix is made before the floor goes down.
Whether you need an underlayment depends on the plank. Many planks have a pad attached to the back, and those do not get a second one, since a soft layer under an attached pad lets the joints flex the way a dip does. Planks with no pad may call for a separate underlayment, at about 50 cents a square foot. A waterproof plank does not make a wet subfloor acceptable, either. The plank survives water, but moisture trapped under it can still feed mold.
LVP Over a Concrete Slab or in a Basement
A dry, flat concrete slab is one of the best bases LVP can have, and in a Michiana basement it is usually the floor we would choose first. The slab only has to pass the moisture test the plank's maker sets, and that limit differs by product and by installation method.
The usual test is ASTM F2170: a probe set into a small hole drilled in the slab reads the humidity inside the concrete. Mannington, one of the brands we carry, allows up to 85 percent under its floating ADURA Max and up to 95 percent under its glue-down ADURA Flex set in its M-Grip adhesive. Both guides also accept the older calcium chloride test, and both want a new slab to dry for at least six weeks.
A slab that reads high needs more drying time, a fix for the water getting in, or a moisture-mitigation coating rolled onto the concrete. Plastic sheeting is not the fix for every floor: Mannington does not recommend 6-mil polyethylene directly under its floating ADURA planks and points to drying time or a mitigation coating instead. Outside, gutters and grading often matter more than anything done inside.
For the floor itself, the waterproof planks in our catalog are the ones to put in a basement. A burst pipe or a wet spring then costs you a cleanup and not a floor.
Installing LVP Over Old Vinyl, Tile or Hardwood
A floating LVP floor can usually go over one layer of old vinyl, tile or hardwood that is firmly stuck down, flat and not cushioned, while carpet always comes up first. Over ceramic tile, the grout lines can usually be laid over as long as the tile is flat and solid.
Glue-down planks need a cleaner base. A glue-down plank does not go over old vinyl at all, and tile under a glued plank gets a skim coat of cement-based patch so the grout lines do not show through. Nailed-down hardwood that is flat and tight can stay under a floating floor, but hardwood that cups or squeaks needs attention first.
Height is the other reason an old floor comes out. Every layer raises the floor at the doorways and at the bottoms of the doors. It also shrinks the opening under the counter, so measure from the floor to the underside of the countertop where the dishwasher sits before you plan to cover an old kitchen floor. If the new planks would leave too little room to slide the dishwasher out, the old floor has to go.
Two old layers, a cushioned vinyl, loose tiles or a tight dishwasher opening are the usual cases where tearing out costs less than working around. Everywhere else, leaving one sound layer in place saves the removal line on the quote.
Old Sheet Vinyl and Black Mastic That Might Contain Asbestos
Older sheet vinyl, vinyl floor tiles and the black adhesive under them can contain asbestos, and the risk comes from disturbing them. Treat any old resilient floor as if it contains asbestos until a test shows it does not, and never sand, dry-scrape or chip it.
Covering an old floor is usually the safest plan. The EPA's guidance is to leave asbestos flooring alone when it is in good condition and to put new flooring over it where possible. A floating LVP floor over a single, sound layer of old sheet vinyl does that without disturbing it.
When the old floor has to come up because it is loose, damaged or too thick, find out what it is first. The same guidance says a trained, accredited asbestos professional should take the sample, because a sample taken badly can release more fibers than leaving the floor alone. In Indiana, the state environmental agency points homeowners to the Indiana Professional Licensing Agency's free Search and Verify database to find a licensed asbestos inspector. A floor that tests positive is removed under its own set of rules.
How to Get Your House Ready Before Install Day
Getting ready for an LVP installation is mostly a matter of emptying the rooms and bringing the house to the temperature you live at. The week before the crew arrives is enough time, working through it like this:
- Finish the messy work first. Paint the walls and finish any drywall or ceiling work before the new floor goes in.
- Empty closet floors, dresser tops and the drawers of anything that will be carried. Box up breakables and whatever sits on low shelves.
- Plan the big furniture. Our crews take furniture out of the rooms and haul away old carpet that comes up, so beds, sofas and dressers can stay put until the day.
- Plan the kitchen and baths. The range and refrigerator come out of their spots, a refrigerator water line gets shut off, and the toilet comes up so the floor can run under it.
- Run the heat or the air. Keep the rooms at your normal living temperature for a couple of days before, during and after the job.
- Make a plan for pets, children and anyone working from home. Saws are loud, and doors stand open.
- On the morning, leave room in the driveway for the truck, a spot in the garage or driveway for cutting, and a clear path from the door to the rooms.
Acclimation, letting the cartons sit in the house before the planks go down, depends on the plank. COREtec says its planks need none as long as the house is climate-controlled. Mannington calls 48 hours at 55 to 90 F best practice for ADURA Max, and waives it when the heating or air is running and the cartons are within 15 F of the room.
Glue-down planks are stricter: ADURA Flex needs 48 hours at 65 to 85 F every time. The instructions in the carton are what count, and every one of them wants the room at living temperature first.
What Happens on LVP Installation Day
An LVP installation day runs in the same order in almost every house. The layout is settled, the old floor comes out, the subfloor is made flat, the planks go down from the straightest wall, and the edges are finished last. On a typical job the day looks like this:
- A walk-through to confirm the plank and color, the direction the planks run and where each transition sits.
- The old floor comes up, along with baseboards or shoe molding wherever they are being taken off.
- The subfloor is scraped, patched, ground or leveled, then vacuumed clean.
- Underlayment goes down if the plank calls for one.
- The room is laid out from a center line so the rows come out even, with no sliver of a plank along one wall.
- The planks go down, pulled from several cartons at once so the color and grain mix, with about a 1/4-inch gap at every wall.
- Wood door jambs are undercut so the planks slide underneath, and the floor is cut around cabinets, vents and the toilet flange.
- Transition pieces go in at doorways and wherever the planks meet carpet, tile or another floor.
- Trim goes on, fastened to the wall, and the edges at the tub and toilet are sealed with silicone.
- Clean-up and a final walk-through.
The gap at the walls lets a floating floor move with the seasons, so no nail, screw or bead of caulk should ever pin it. Room size has a limit too: Mannington sets the largest open area for ADURA Max at 50 feet in either direction or 2,500 square feet. A long run through a kitchen, dining room and living room may need a transition at a doorway to break it.
An open plan with no doorway to hide that transition has two ways out. A glue-down plank runs without a break, because it is bonded and does not move as a sheet. A floating plank whose maker allows a longer run is the other, so check the run limit in the guide for the plank you like before you fall for it.
Baseboards are a choice you get to make. They can come off and go back on over the new floor, which gives the cleanest look. Or they can stay, with quarter round or shoe molding nailed to the baseboard to cover the gap, which is quicker and avoids patching paint. Either way the trim is fastened to the wall and never down through the planks.
Expect noise from cutting through the day. The dustiest step is grinding high spots on a subfloor; most of the rest is quiet work with a cutter and a tapping block.
What Changes When the Planks Are Glued Down
Glue-down LVP adds a step to the day. The adhesive is spread with a notched trowel and left until it turns tacky, the planks are set into it, and the whole floor is rolled with a heavy floor roller. The subfloor has to be flatter and cleaner than for a floating floor, because a glued plank shows whatever is under it.
That extra work shows up in the price. Glue-down is the most expensive way to install vinyl plank, with labor closer to an engineered wood floor than to click-lock, and national cost guides put glued installs a little above floating ones per square foot. The planks themselves can cost less, because a glue-down plank is thinner and has no locking edge or rigid core.
For most rooms in a house, click-lock is the better value. Glue-down earns its place in a sunroom, on stairs, under a heavy island, in an open plan with no place for a break, and in businesses with carts and rolling chairs. The glue-down planks in our catalog are mostly ADURA Flex and commercial lines built for those spaces.
LVP in Kitchens, Bathrooms and on Stairs
Kitchens, bathrooms and stairs each change one part of an LVP installation. In a kitchen, cabinets and islands stay on the subfloor and the floating floor runs up to them with its gap, because a cabinet set on top of a floating floor pins it in place. If you are remodeling, the cabinets go in first and the floor second.
A heavy island that has to sit on the finished floor is a case for glue-down in that zone, since a glued floor is not trying to move under it. A freestanding table or a rolling cart is fine on a floating floor. The difference is whether the piece is fastened down or so heavy that it pins the planks.
In a bathroom, the toilet comes up so the planks can run under it. The gap at the toilet flange and along the tub is sealed with 100 percent silicone so water cannot get under the edge. The floor runs to the face of the vanity or under a pedestal sink, and a laundry room gets the same treatment around the washer.
Stairs are always fastened, never floated. Each tread and riser is glued down, and the front edge of each step gets a matching stair nose piece. Before you order, check that the plank you love comes with a matching stair nose, because not every color has one.
How Long LVP Installation Takes
An LVP installation takes one to two days once the rooms are empty, and a single room is often done in a day. The rest of the schedule depends on what has to happen before the first plank goes down and after the last one is in.
Prep is what stretches the schedule. Scraping up a glued floor, leveling a subfloor and waiting for the compound to set, drying a slab, letting cartons sit 48 hours, and fitting stairs each add part of a day or more.
Glue-down planks also change when you get the room back. Heavy furniture stays off a freshly glued floor for a day, and the floor is not washed for two. On a floating floor you can walk as soon as the crew is done and put furniture back once the trim is on. Roll heavy appliances in on a hand truck over sheets of hardboard so the wheels do not dent or scrape the planks.
Plan for the kitchen to be out of use the day it is done and a bathroom to be without its toilet for part of a day. Keep pets out of the rooms until the edges are finished.
Caring for New LVP in the First Month
Caring for new LVP starts with felt pads and the right mats, because the surface is most likely to be scratched or stained in the first weeks, while furniture moves back in and rugs go down. The edges need the opposite treatment: leave them alone so the floor can move. This list covers the first month:
- Felt pads under chair and table legs, and wide, non-staining casters or cups under heavy furniture.
- Mats and rugs labeled non-staining, because rubber, latex and cocoa backings can discolor vinyl.
- Dry cleaning at first: a broom, or a vacuum with the spinning beater bar turned off. Wait two days before the first damp mop.
- A pH-neutral floor cleaner, and nothing labeled wax, polish, shine or citrus.
- Blinds or curtains drawn in the strongest afternoon sun, since heat and light together can fade and expand a floor.
- No caulk, nails or screws in the gap at the walls.
- The heat left on through the winter, even in a room you close off.
Problems After LVP Installation and What They Mean
Most problems that show up in an LVP floor in its first year trace back to the subfloor or to something pinning the floor. Gaps, peaks, hollow spots and lifting edges can usually be fixed without replacing the whole floor, and a carton of spare planks makes every repair invisible.
Gaps Between Planks
Gaps between planks that open in a cold snap and close again in summer mean the floor is moving with temperature. The usual causes are a room kept cold or a run longer than the plank allows without a break. Gaps that stay open year-round usually mean a joint was never fully engaged.
A gap caught early can often be tapped closed with a scrap of flooring and a tapping block. A run that is too long needs a transition added at a doorway. Keeping the heat on in winter stops most seasonal gapping.
Peaks or Buckling
Peaks or buckling, a ridge where two planks push up against each other, mean the floor cannot move. Something is pinning it: trim nailed through the planks, a cabinet or island set on top, caulk packed into the gap, or a door jamb that was never undercut.
Freeing the edge usually lets the floor settle back flat. Take off the trim along the peaked wall, clear whatever is pinning it, and refasten the trim to the wall. A peak that sat for months may leave a plank or two to replace.
Hollow, Soft or Clicking Spots
A hollow, soft or clicking spot sits over a dip in the subfloor. The planks are bridging the low spot, and every step there flexes the joints over it, which is the sound you hear and the give you feel.
The fix is lifting the planks back to that spot, filling the dip with patching compound and relaying them. Left alone, the same dip will eventually break a joint, so it is worth fixing while it is only a noise.
A Broken or Separated Joint
A plank that separates along its edge, or a joint that cracks, usually comes from a hard impact or from a joint flexing over a dip. Once the locking edge is cracked, it will not hold the plank beside it.
The fix is a new plank. On a floating floor that means unclicking the rows from the nearest wall, or cutting the damaged plank out and setting a new one in. Fix the dip underneath first if there is one, or the new plank will crack the same way.
Edges Lifting on a Glued Floor
Edges lifting on a glued floor usually mean moisture coming up through the slab or adhesive that was past its working time when the planks went in. Adhesive squeezing up between planks means too much was spread.
A lifted plank is warmed with a heat gun until it is flexible, lifted, re-glued with a thin coat of adhesive, rolled and weighted for a few hours. If moisture is the cause, the slab gets tested again before anything else is glued to it.
A Stain Under a Rubber-Backed Mat
A yellow or brown stain under a rubber-backed mat or rug is the backing reacting with the vinyl, and that kind of discoloration does not clean out with any floor cleaner. It shows up most often at entry doors and in front of the kitchen sink.
The stained planks are replaced from your spare carton, and the mat is swapped for one labeled non-staining. A felt rug pad under area rugs keeps it from happening again.
Installing LVP Yourself vs. Hiring It Out
Installing LVP yourself is a fair DIY weekend project when the floor is click-lock, the room is square and the base is flat plywood or a single sound layer of old flooring. Hiring a pro makes sense for a slab that needs a moisture test, a glue-down plank, a kitchen full of cabinets, a run of stairs or an older house with layered, uneven floors. The mistakes in those rooms only show up after the floor is down.
What you save is the labor line, less the tools and the days you spend. The tools are a long straightedge, plastic spacers for the wall gap, a tapping block and pull bar, a utility knife or plank cutter, and a saw for the cuts a knife cannot make. The order matters more than the tools: check flatness, lay out the room from a center line so the edge rows are even, then set the first row straight, because every row after it follows.
Makers write their instructions as the conditions for a satisfactory floor, so a DIY floor has to follow them as closely as an installer would. If you would rather hand it off, our installers are licensed, insured and highly trained, and proper installation is what keeps the maker's warranty on your floor in force. If you would rather do it yourself, we sell the same planks either way.
LVP Installation in South Bend With Comfort Flooring
At Comfort Flooring, we sell luxury vinyl plank and install it in homes across South Bend, Mishawaka, Granger, Osceola, Elkhart and the rest of Michiana. Our showrooms are in Mishawaka and Elkhart, both a short drive from anywhere in South Bend.
Our luxury vinyl runs from about 6 mil on entry planks to 30 mil, and 20 mil covers more than half the colors. It includes Mannington's ADURA Max and ADURA Apex click planks and its glue-down ADURA Flex, along with COREtec and Shaw Floors. You can sort it online by wear layer, attached underlayment, radiant heat approval and waterproofing before you visit.
When you are ready, we come out, measure your rooms and price the plank you choose at a free in-home measurement, so the quote you hold against the national figures is for your house.
LVP Installation Questions We Hear
Which Direction Should LVP Planks Run?
The direction LVP planks run is usually set by the room's longest dimension, with the planks laid along it. In a house where several rooms connect, run them along the longest stretch of the whole space so the floor reads as one piece from room to room.
The light and the entry can tip it. Planks running toward the main window hide their end joints better, and planks running in from the front door draw the eye through the house. In a long, narrow hallway, run them lengthwise.
How Much Extra LVP Should You Order?
Order about 5 to 10 percent more LVP than the measured square footage. That overage covers the offcuts at walls and doorways, so go toward 10 percent for small rooms, a lot of doorways or a diagonal layout, which all produce more waste.
Keep what is left in a sealed carton inside the house, not in a garage or shed. Colors are discontinued, and a matching spare turns a gouged plank into a small repair.
Can You Stay Home During LVP Installation?
Yes, you can stay home during an LVP installation as long as you can stay out of the rooms being worked on. Expect saw noise through the day and doors standing open while cartons and old flooring go in and out of the house.
Set up in a room that is not being done, with a clear path to a bathroom and to the kitchen if it is not part of the job. Pets do best behind a closed door or out of the house for the day.
Can LVP Go Over Radiant Floor Heat?
Yes, LVP can go over radiant floor heat when the plank's maker approves it for that use. Mannington prefers hot-water systems set in concrete under ADURA Max, with the floor's surface never above 85 F.
Electric mats are allowed under its floating floors only when the heating maker recommends and warrants them for that use, and they stay at or below 80 F. Turn the system on before the floor goes in so the slab dries out, and keep the setting under the limit afterward.
Can LVP Be Installed in Winter?
Yes, LVP can be installed all winter in Michiana as long as the house is heated. Keep the rooms at living temperature for the days before, during and after the job, the same as any other time of year.
Cartons stored in a cold garage or delivered on a freezing truck need to warm up first. Bring them inside early and let them come within about 15 F of the room before they are opened.
Can LVP Go in a Three-Season Porch?
No, a three-season porch is not a place for most vinyl planks. Vinyl plank is made for rooms that stay heated, above about 55 F all year, and an unheated porch in a Michiana January falls far below that for weeks at a time.
A porch that is heated through the winter can take LVP like any other room. A porch that is closed off and left cold is better served by a floor made for outdoor temperatures.
Getting Your Rooms Measured
The national figures give you a way to judge a quote; the quote itself comes from someone standing in your rooms, counting the doorways and seeing what is under the old floor. Pick a few planks you like, then set up a free in-home measurement and get a price for your own floor.


